Details on Web3Hooks
Overview
A webhook is a mechanism that allows one application to send real-time data to another application or service when a specific event or action occurs, letting different systems communicate with each other in an automated and efficient manner. Webhooks are commonly used for integrating and synchronizing data between various web services, applications, and platforms.
Principle of Work
-
Trigger Event: One application generates an event or performs an action.
-
HTTP Callback: Instead of actively polling for updates, the application that needs the information sets up a webhook URL.
-
Callback Registration: The application generating the events will have a way to register this webhook URL with the receiving application.
-
Notification: When the specified event occurs, the generating application sends an HTTP POST request to the webhook URL. This request contains relevant data about the event, often in a structured format like JSON.
-
Processing: The receiving application processes this incoming data and takes action accordingly. It might update its own database, trigger additional processes, or send notifications to users.
Use Cases
-
Notifications: A popular use case is sending notifications to external services when specific events happen. For instance, a messaging application might use webhooks to notify third-party systems when a new message is received.
-
Data Synchronization: Webhooks are used to keep data synchronized between different systems. For instance, they can monitor liquidity pools being created on DEX platforms.
-
Automation: Automated actions can be triggered by webhooks which can then notify mobile or web users when an NFT is rented as part of an on-chain action.
-
Real-time Updates: They enable real-time updates without the need for constant polling. Rather than repeatedly checking for changes, a system can wait for relevant updates through webhooks.
To set up a webhook, the recipient application needs to provide an endpoint that can receive and process incoming HTTP requests. The sender application then configures itself to send the necessary data to that endpoint whenever an event occurs. If your webhook doesn't respond, monitoring will be disabled and you will get a notification via email or Harbour.
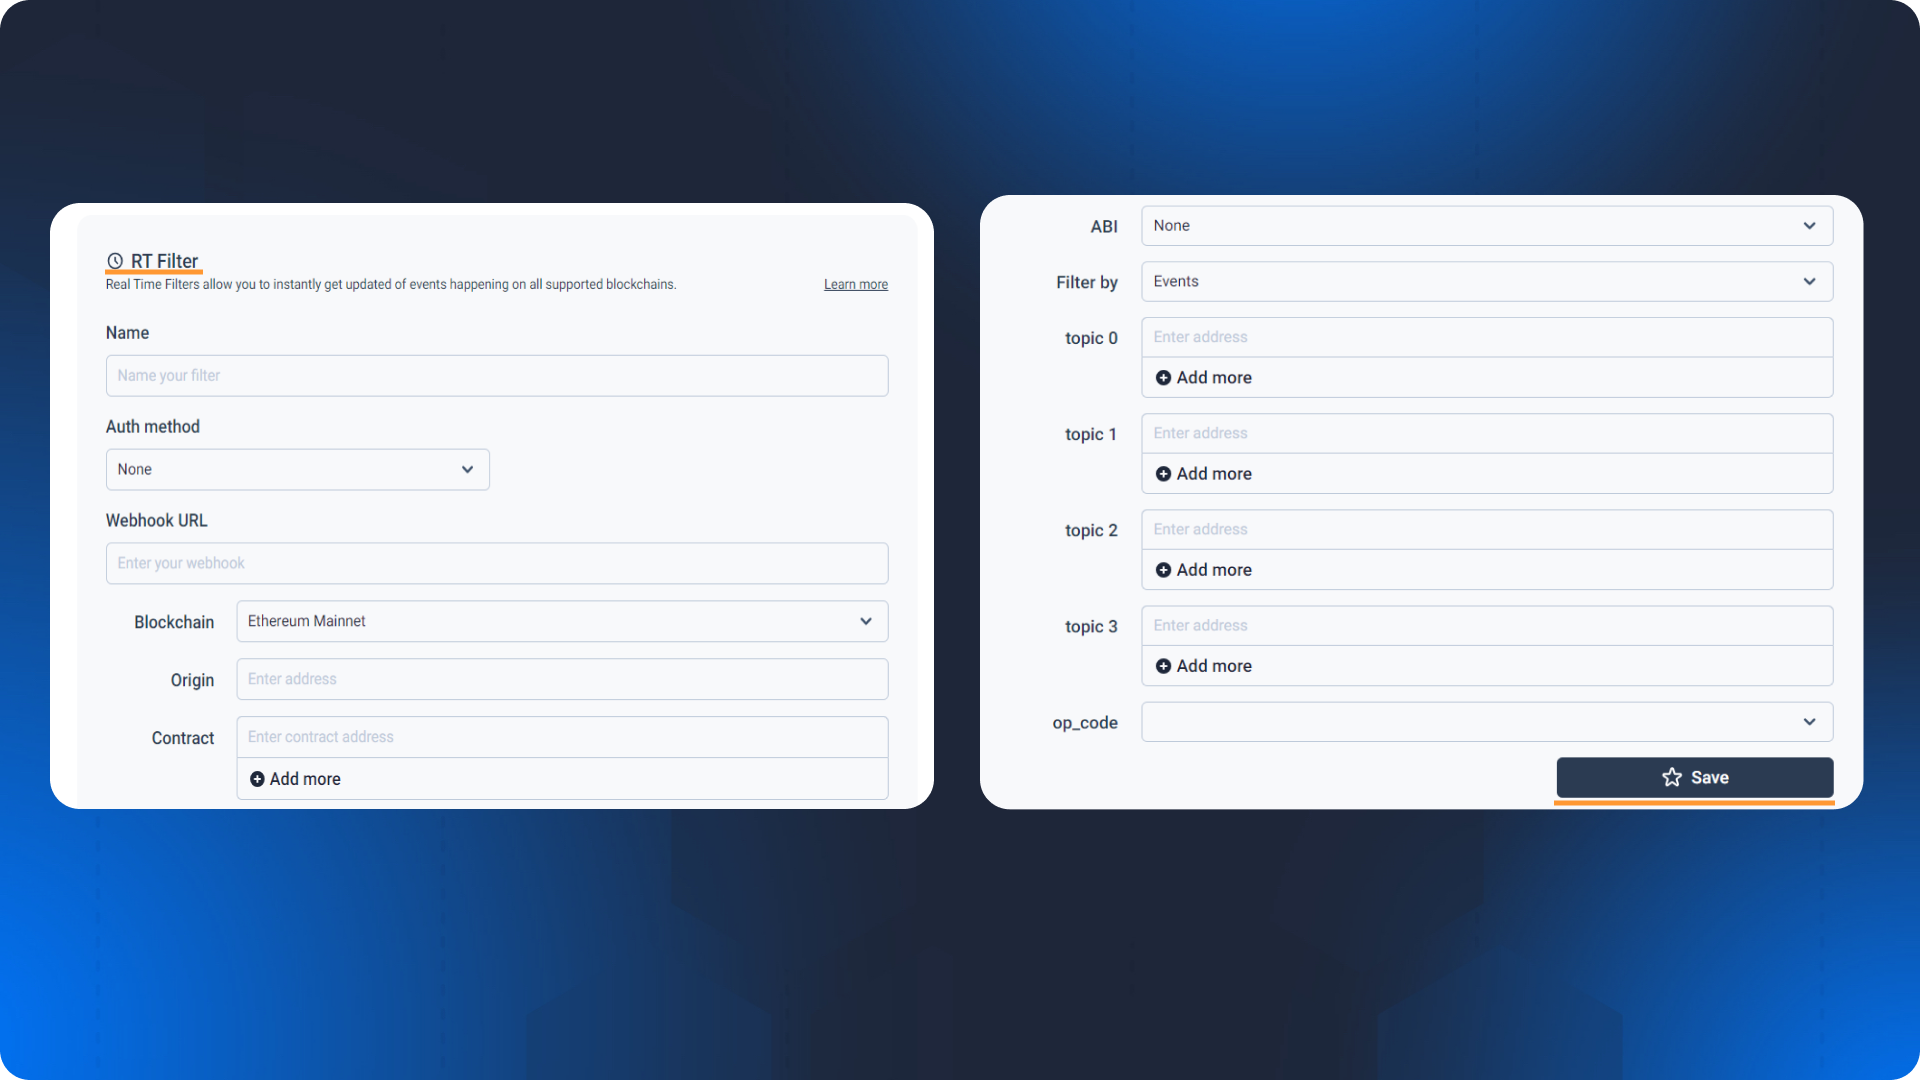
Web3Hooks Conditions
- Give a unique
nameto your hook. - Choose an
authentication methodfor your Webhook. You can usebasicauthentication with a username and password,bearerauthentication with a generated API key, ornoneif you have not set up any authentication system on your end. - Provide the URL of your
webhook. Use webhook.site (opens in a new tab) as an example to test the connection. - Choose the
blockchainyou want to monitor. - Enter the
originaddress if you want to monitor a specific EOA wallet, which normally initiates the event. - Specify the
contractfield to monitor, either your own or a third-party contract like Uniswap. - For receiving decoded data with your notifications, select the
ABIfile that matches the contract in the previous step. Read more about ABI decoder (opens in a new tab). - Choose the event you want to monitor by specifying the hexadecimal value
of the event in
topic_0. To receive notifications for all events, leave thetopic_0field blank. - For more flexibility, provide
topic_1,topic_2, andtopic_3.
Retry Logic
When a delivery attempt fails, our system initiates a retry process, attempting delivery within one minute, up to three times. If these initial retries prove unsuccessful, subsequent attempts are made at intervals based on the Fibonacci sequence, extending over the next 987 minutes. Specifically, requests are made at 2, 3, 5, 8, 13, 21, 34, 55, 89, 144, 233, 377, 610, and 987 minutes after the initial failure.
As an example, suppose a hook sends a request that fails at 12 pm. Immediate retries are made at 12:01, 12:02, and 12:03 pm. Following these attempts, subsequent retries occur at 12:08 pm (+5 min), 12:13 (+5 min), and so forth. The last retry is made the next day at 04:27 am, at which point the system suspends further attempts for the hook and ceases deliveries and retries.
After receiving 16 failed deliveries in a row without a single successful delivery, the webhook's status changes
to suspended. You will receive one delivery if the reason of suspended status is 400 error codes, and three deliveries if
the reason of suspended status is 500 error codes.
Create a Hook via Harbour
- Open your Harbour account (opens in a new tab)
- Navigate to RT Filters (opens in a new tab)
- Click the “+Create new RT Filter” button
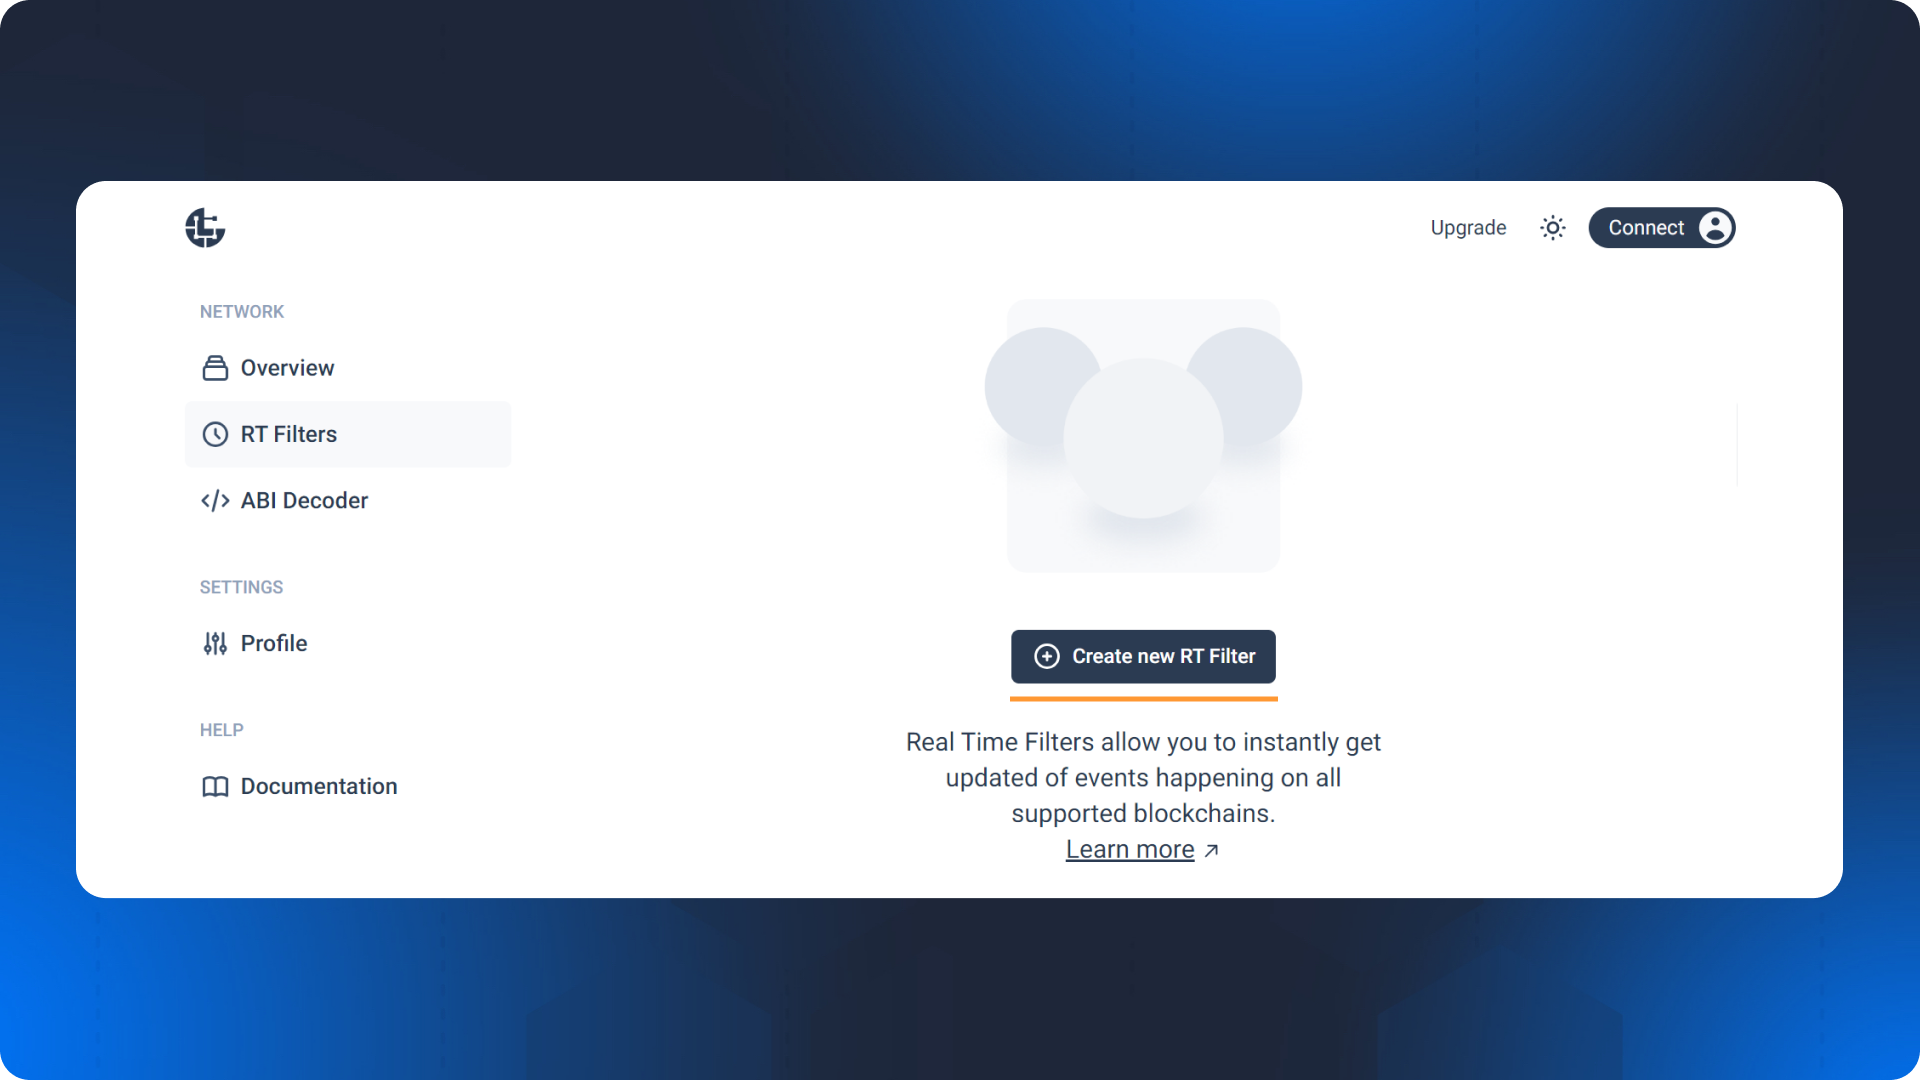
- Fill out the form and save your RTF (read more (opens in a new tab) about the Real-Time Filter conditions)
To set up your hook it is enough to specify which contract or origin you
want to monitor and provide a URL of your webhook where you want to receive your
notifications. After completing these steps, the hook should be enabled, and you
should start receiving notifications when the conditions you set are met. You can enable/disable
the button located right behind three dots in the RT Filters (opens in a new tab) menu, or you can also
enable/disable it in the view of RT Filter.
Hooks may be disabled or suspended if your account is not verified. In this case, check your email inbox for a verification letter from PARSIQ and verify your account.